

How to install Base Bits
Installing Base Bits is an incredibly simple process. To ensure a smooth install, take a look at the step by step instructions provided below.
Getting ready
You will need:
The original Games Workshop base(s)*
Your Base Bit(s).
Superglue (gel works best)
Alternatively two-part epoxy glue will work fine, it has a longer setting time and once cured will be permanent.
Do not use hot glue, as the heat can reduce the magnet's power.
*You can mount your Base Bits to the Games Workshop base with or without the model already attached.
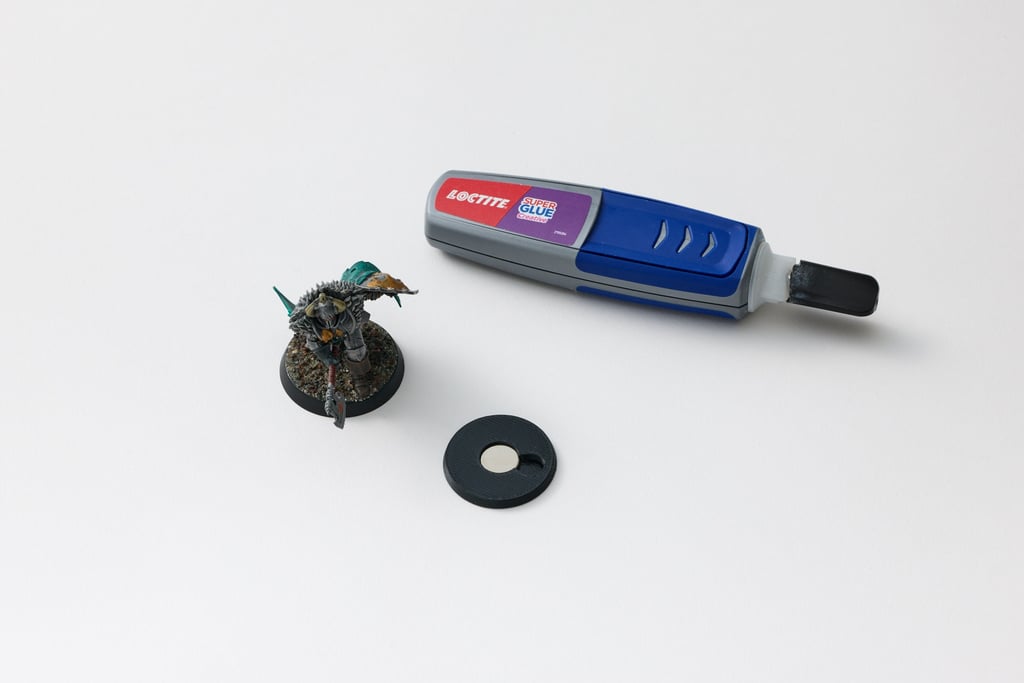
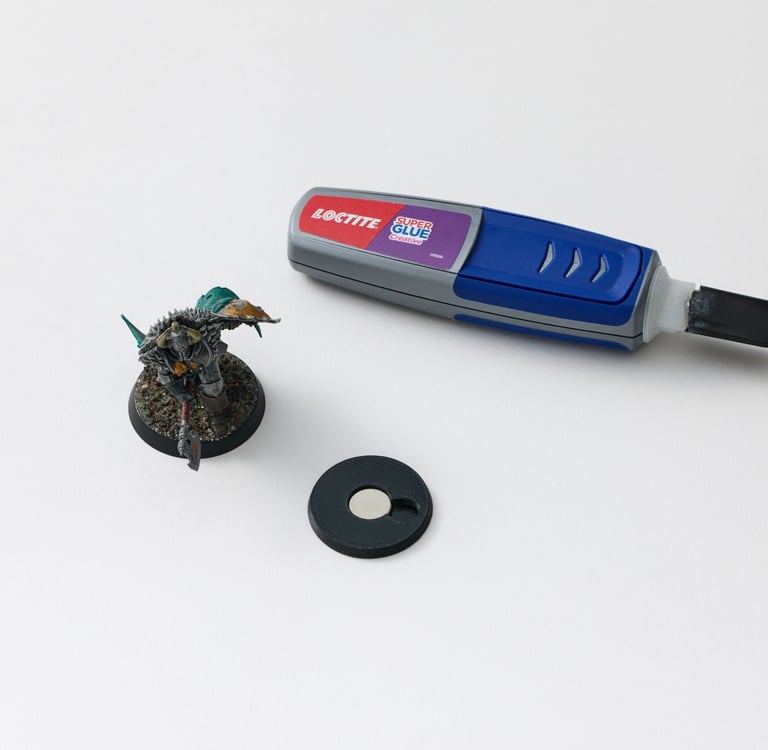
Step 1.
Assemble the required parts on a flat work surface.
Place the Base Bit on your work surface with the magnet facing down. Apply a small bead of glue around the circumference of the Base Bit every 2cm or so.
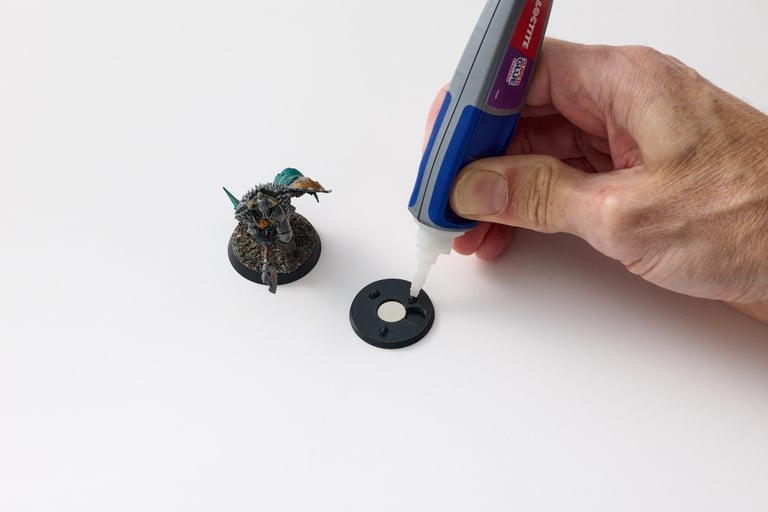
Step 2.
Place your base over the top, making sure any mounting pins are lined up with the Base Bit. Press down firmly to spread the glue.
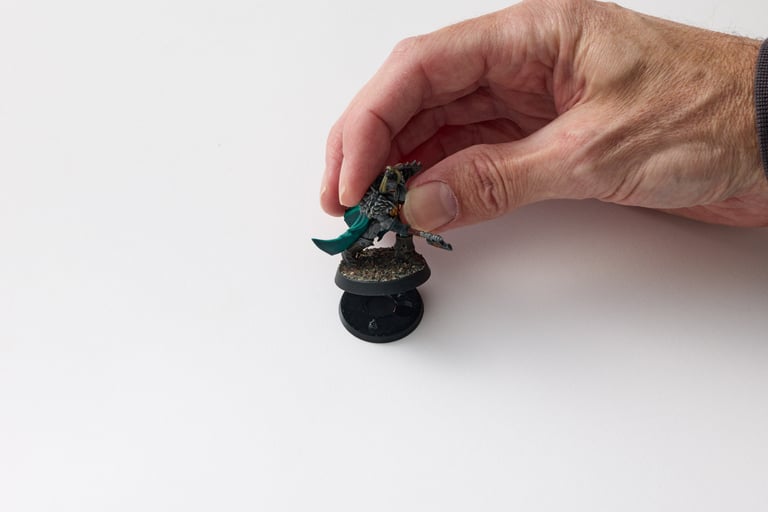
Step 3.
Allow at least 10 minutes for drying, full cure in 24 hours.
If your GW base is warped:
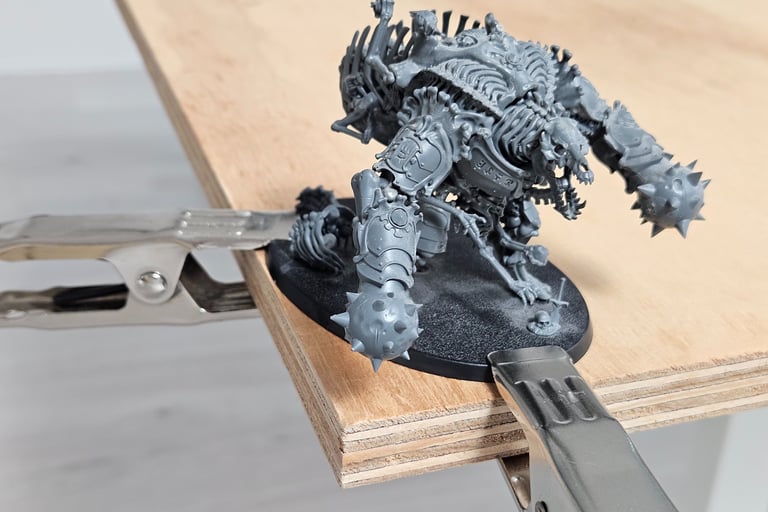
After applying the glue, clamp it to the corner of a table or a piece of wood using at least two clamps. The Base Bits are very rigid so once the glue is solid this will remove all warping.
dan@nebula.kiwi